VRF Route Leaking on Cisco Nexus Switches [Explained & Configuration]
Introduction
VRF allows a router to maintain separate routing tables for different virtual networks. When exceptions are needed, VRF route leaking allows some traffic to be routed between the VRFs without the use of static routes.
The leak between VRFs is performed at the BGP process level. Because of this, it is necessary to add the routes to the BGP process first, specifically in the BGP table.
I- Default VRF to VRF
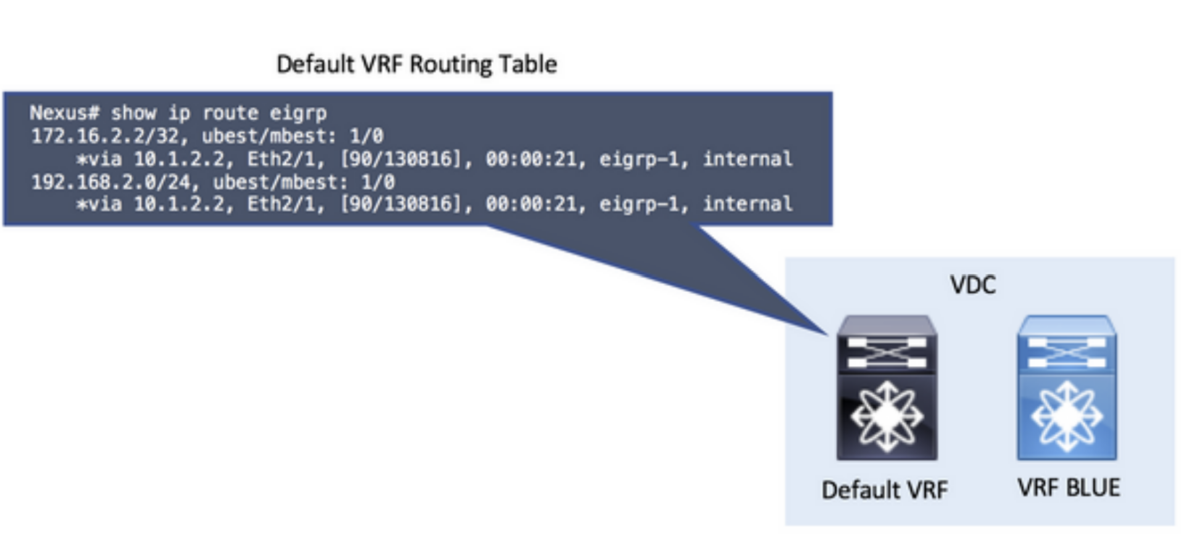
Step 1: Redistribute into BGP:
route-map ALL permit 10
!
router bgp 65535
 address-family ipv4 unicast
 redistribute eigrp 1 route-map ALL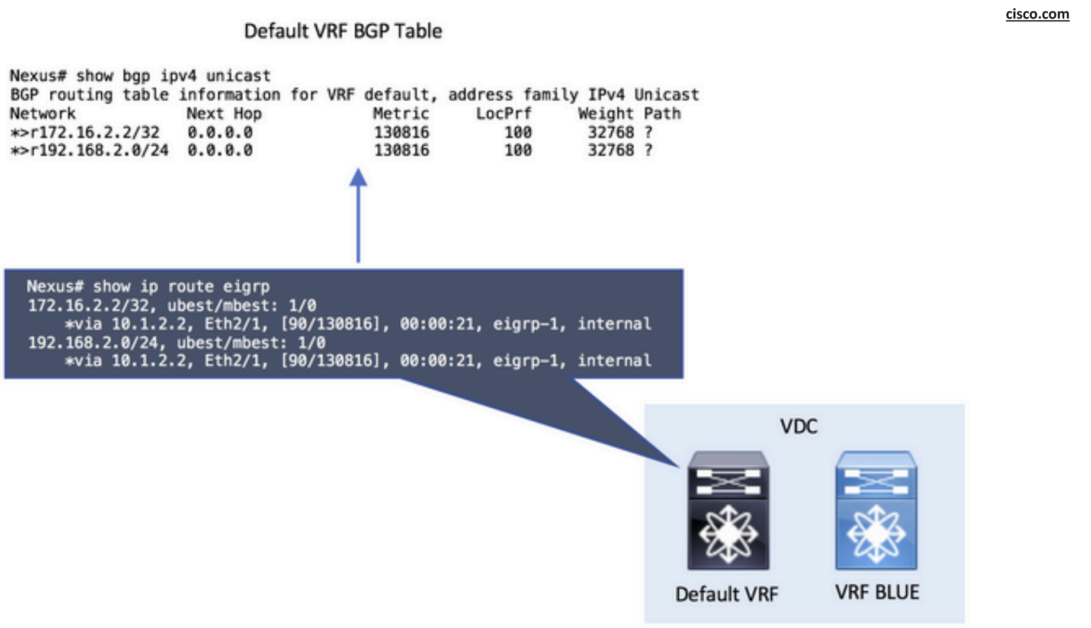
Step 2: Configure Import VRF default in the destination VRF.
The import vrf default command is configured in the destination VRF. The command line requires a route-map as a parameter in order to explicitly define the routes to be imported in the destination VRF.
For this example, only the route 192.168.2.0/24 is leaked from default VRF to BLUE VRF:
ip prefix-list NETWORK seq 5 permit 192.168.2.0/24
!
route-map GLOBAL-TO-VRF permit 10
 match ip address prefix-list NETWORK
!
vrf context BLUE
 address-family ipv4 unicast
 import vrf default map GLOBAL-TO-VRFCode language: PHP (php)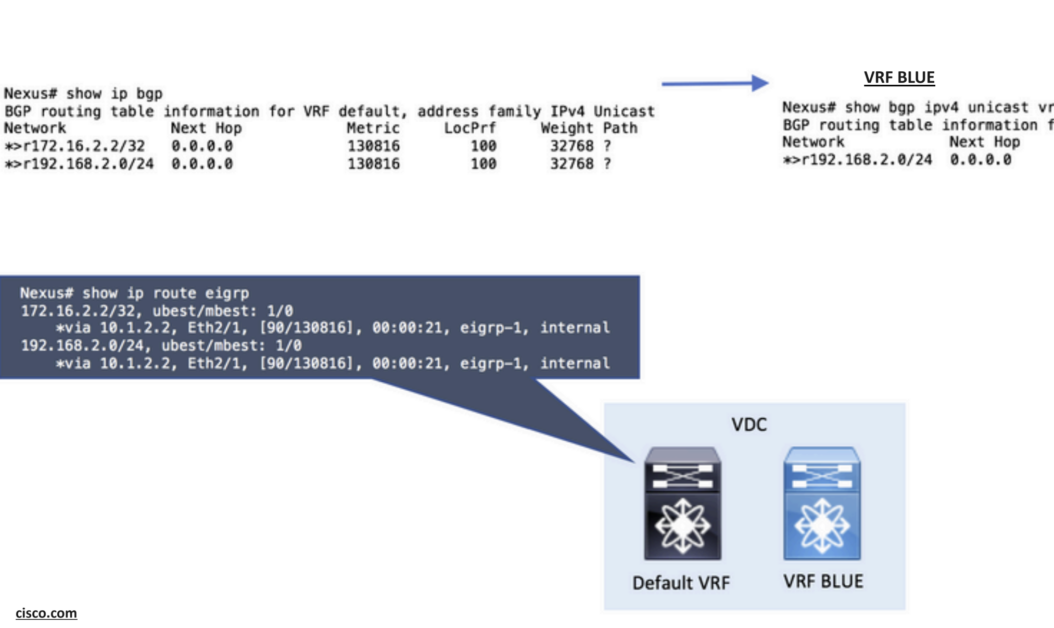
II- VRF to VRF
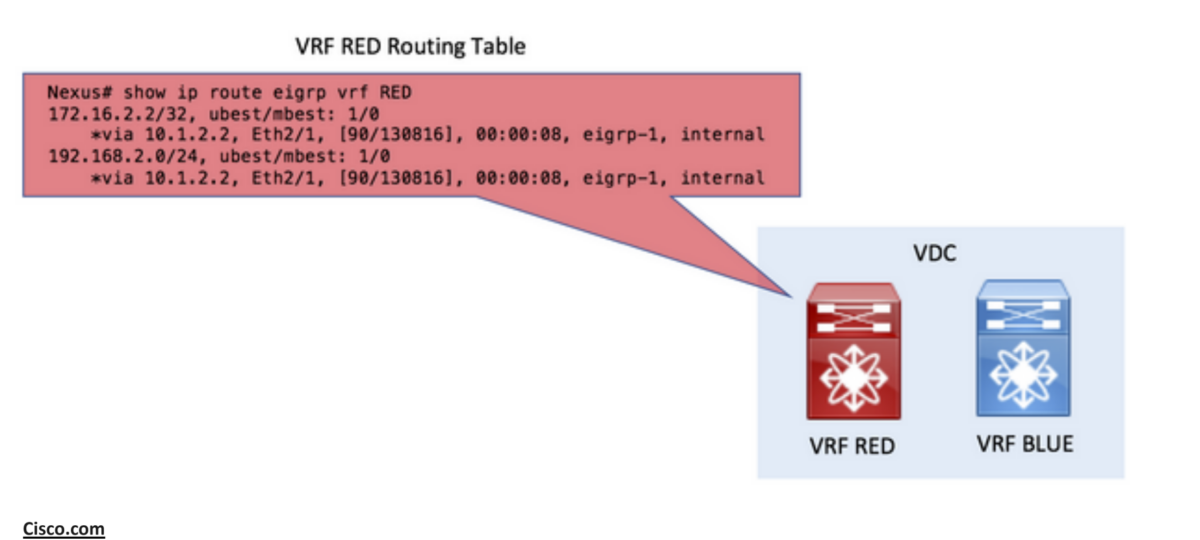
Step 1. Redistribute into BGP:
route-map ALL permit 10
!
router bgp 65535
 vrf RED
 address-family ipv4 unicast
 redistribute eigrp 1 route-map ALL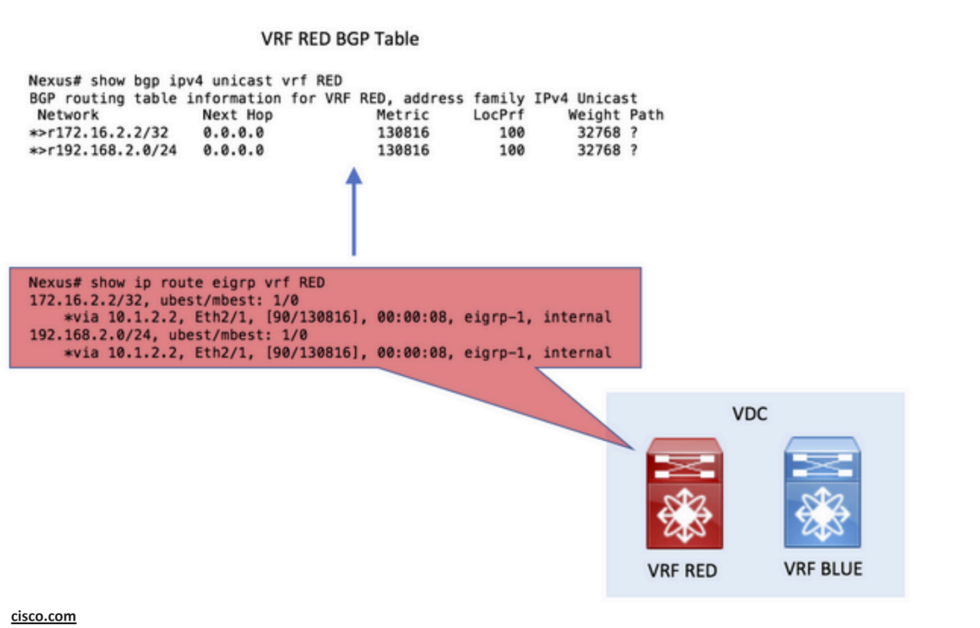
Step 2: Create export & import Route-Targets
To leak between VRFs, the use of Route-Targets is required.
- The origin VRF exports a Route-Target value.
- The destination VRF imports the same Route-Target value.
vrf context RED
  address-family ipv4 unicast
    route-target export 1:1
!
vrf context BLUE
  address-family ipv4 unicast
    route-target import 1:1Code language: JavaScript (javascript)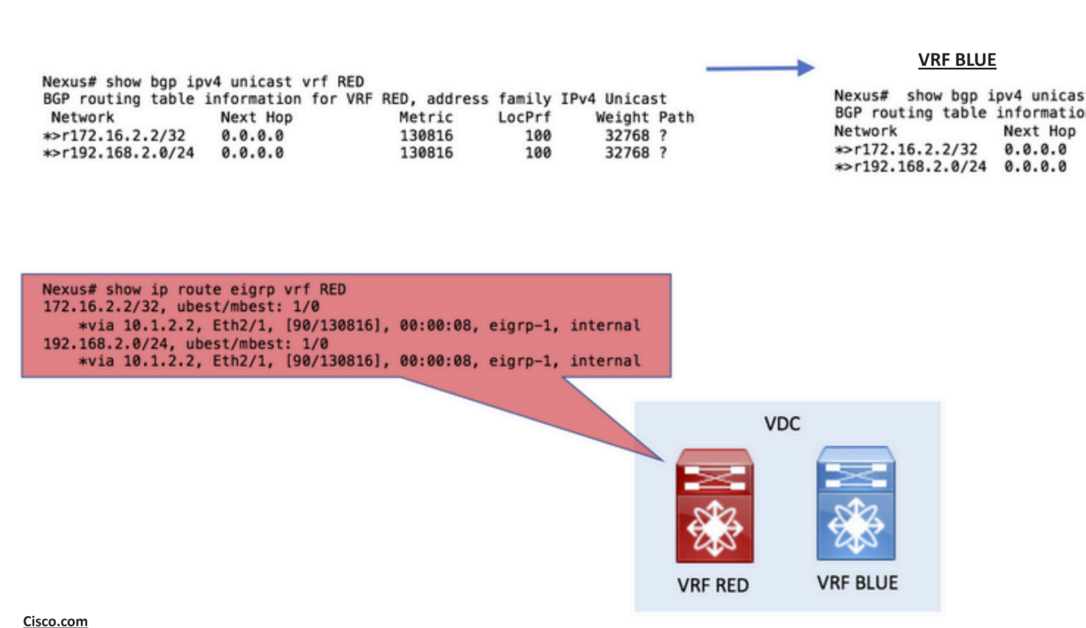
Reference: this post consists of some notes from cisco paper.

![Explore The BGP Path Selection Attributes [Explained with Labs]](https://learnduty.com/wp-content/uploads/2022/07/image-28-800x450.png)
